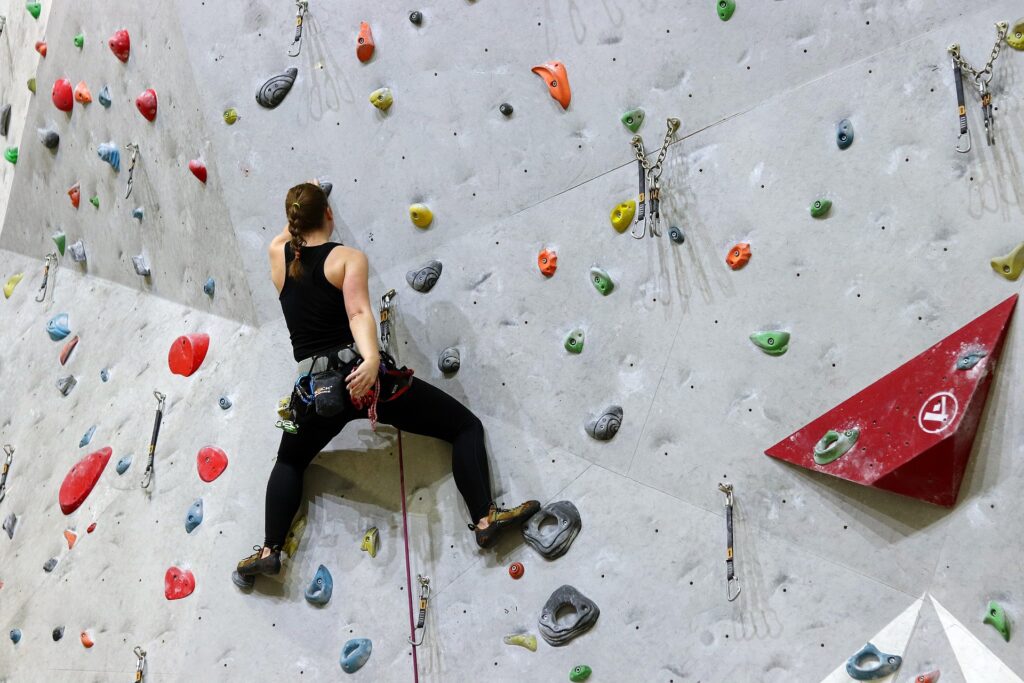
Why climbing drills?
When considering training for climbing we tend to think about finger strength. Or maybe endurance, power, power endurance, and mobility. But not about climbing drills. I agree all these attributes are very important for climbers’ success.
But climbing is a complex sport. It has more similarities with martial arts, basketball, and tennis than track and field and powerlifting. Athletes in all of the aforementioned sports practice their skills and not only train their physical abilities. The tallest player on the basketball court is not necessarily the best one. The one who can run the fastest on the soccer pitch will not win the Ballon d’Or every year. The most skilled one will. And how do we gain skills in climbing – with climbing drills.
In English, we say that basketball players go to practice (to get better at their sport) and powerlifters train (to get better at their sport). In my language, we do not have different words for these two endeavors in sports. We use our translation of word practice for musicians, mathematicians, and performers. For all athletes, we use the translation of the word training, but in our language. It means the same as in the Oxford Dictionary of English Language – the action of teaching a particular skill. I firmly believe that precise use of heel hook in climbing is a skill, same as I believe that hanging on a tiny crimp with your body weight is a skill.
And in order to teach yourself or others any climbing skills (strength and endurance included) we need to train in this broader sense of the word. At InnerClimber we use the words train and practice interchangeably. So we have prepared for you a list of drills to use in our training to get better at the technical elements of our sport.
Understanding the Importance of Climbing Drills
Climbing drills are controlled activities with clear goals. They serve a purpose. Try to compare the way most climbers train for their performance with any other sport (American football, soccer, basketball, martial arts, tennis, golf,…). Basketball training doesn’t look like a basketball game at all. Players warm up. They go through set plays at half the speed with no defense, they shoot free throws and three-pointers even if these are basic skills and the players are playing at the NBA level. Steph Curry is the best 3 point shooter of all time and he still shoots hundreds of shots every day.
How do climbers train? We go to a gym, warm up, and then climb. And most of the time we climb to get to the top, by any means. Even if it is just a gym climb that will no longer be there the next week, our practice/training often simulates performance. Essentially we do not practice our skills in a controlled environment that would allow us to distill the basic skills from climbing and allow us to become masters at it. That is when these drills come into place. They are designed to do just that – allow us to become better at basics that are so important.
- Choose a few of these drills and incorporate them into your training.
- Do them at the beginning stages of training sessions – warm up is a great place for them.
- Do not use them when tired or at the end of sessions.
- Make them an integral part of training and climbing and reap the benefits in the long term.
- Film yourself doing them – we all carry our phones with us all the time. make use of great technology in your pocket. Film your attempts at drills and look at them. Try to climb better on your next try.
Climbing drills
Drill: Contrast warm up (sloth/monkey)
aim: Practice climbing with momentum and control. Recognize when to use one of both in climbing situations.
Step-by-step guide
- Do your standard of the wall warm-up.
- Choose an easy-for-you boulder and climb it “normally” in your preferred method. Film your attempt.
- Climb the same boulder in a slow controlled style. Do not cut feet, do not jump to holds. Climb it as “sloth-like” as possible. Use both teeth at all times and be attentive to create a lot of pressure through them. Climb in complete control. Watch the video of your attempt.
- Climb the same boulder in a completely opposite style – use as much momentum from the previous move as possible. Transport the energy from your feet and hips to the next move and then the next one. Be “springy” and float as the monkeys do in the jungle when they effortlessly jump from tree to tree. Watch your video.
- Analyze the attempts – which moves were harder with the static method? Some of them are more suitable for dynamic style. Did you use any of these styles in your first attempt?
- Repeat the steps above on two more boulders, progressively harder but not hard enough to fail at any attempt.
Drill: pacing (defense/offense climbing)
aim: Learning a different pace of climbing then your default one and when to change it.
Most of us have a default pace (speed at which we move on a climb) at which we feel comfortable and in control. If we climb slower than that we get pumped out of our mind and are inefficient. If we climb faster we become sloppy, our footwork deteriorates and we over grip. But on every sport climbing route and most on most boulders there are sequences that would best be climbed at a slower or faster pace. We should learn to identify when to use them and most of all how to actually climb faster and slower than we already do.
Step-by-step guide
- Do this drill after your warm-up climbs.
- Choose a route with a crux section somewhere in the middle. The route should be at or slightly under your on sight limit. You should be familiar with this route from previous sessions.
- Identify the crux section and memorize from the ground. Identify the rest before the crux.
- Climb the easier part of the route to the crux section in “defensive style”. This means you should expand the minimal amount of energy in this section. Climb it in control, precision and efficiency are the names of the game. Chalk up and shake up at the rest that you identified before.
- Climb the crux in “offense mode”. Move fast, with intention. The goal is to get out of the crux as quickly as possible and with minimal damage. No chalking up and shaking your hands.
- After the crux change to “ defensive mode” again. Stop, shake it off, chalk up and climb in control with controlled breathing and steady pace to the anchor.
- Choose a different route with longer/harder crux and repeat the process. If you can find a route with more cruxxes even better.
Drill: silent feet
aim: Learn how to maximize your foot placement precision. Get complete trust in your feet during climbs.

Climbing drills are important for progressing your climbing skills.
Step-by-step guide
- Do your standard of the wall warm-up.
- Find a spray wall, an empty section of wall with many footholds to traverse, auto-belay, or a patient belayer.
- Use any holds for hands and feet.
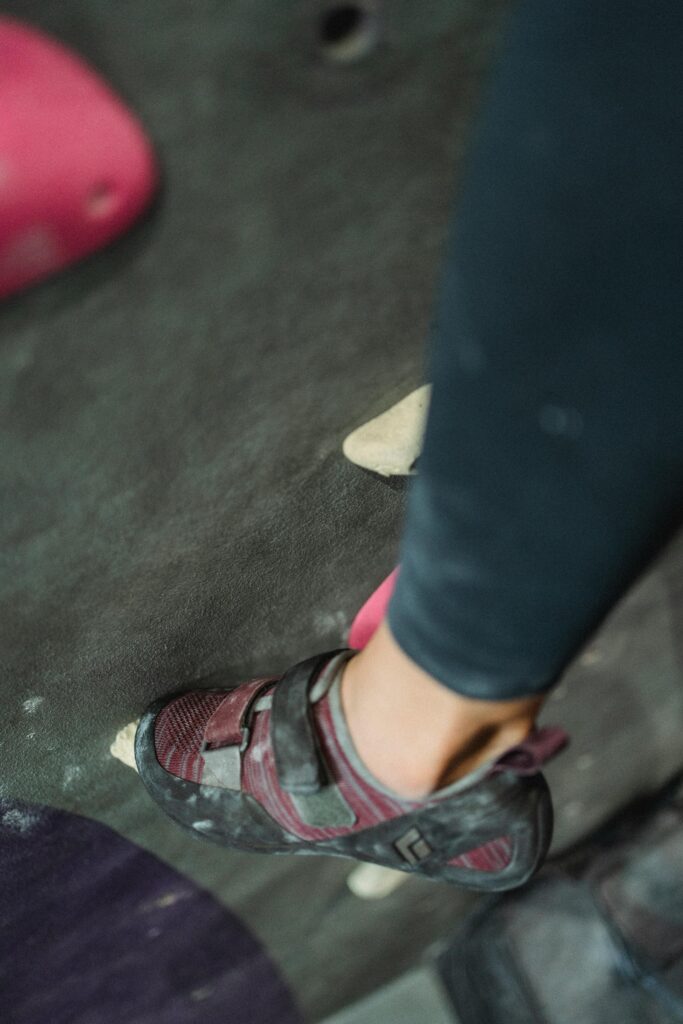
- The only rule of this drill is hidden in its name “the silent feet”. Put your feet slowly and in control on the foothold or part of the foothold in such a way that you do not make any sounds. So no kicking the boards, no scraping the shoes two inches above the hold, no dragging feet. Just precise and accurate foot placement every time.
- You should notice that at first you will climb more slowly and pay much more attention to the feet. Good. This is what we want.
- Watch your feet until they are firmly pushing on the foothold, do not take your exes from them before that.
- Progress the drill by doing it on more challenging terrain. Use smaller footholds or climb on the section of the wall that has fewer of them,
Drill: no thumb
aim: Learn how to create momentum from your feet, through your hips. Do not rely solely on your upper body strength to save it for when it matters.
Step-by-step guide
- Do your standard of-the-wall warm-up.
- Choose a climb two grades under your on-sight limit.
- Climb the route as you would normally climb it but do not use your thumbs on any holds! No pinching.
- This will force you to find optimal positions, especially on holds that you would normally use your pinch grip positions.
- The “no thumb” rule will force you to twist your hips and upper body more. Find those optimal positions with your feet to generate momentum.
- Use your phone for video evidence and look at it after the attempt.
- You can progress the exercise by choosing more challenging climbs or steeper terrain.
Drill: no adjustment / one-touch
aim: Learn to optimally grab climbing holds the first time. Use less energy when climbing and be more efficient in our movement.
Step-by-step guide
- Do your standard of-the-wall warm-up.
- Choose an easy boulder or route (3 grades under OS limit).
- The rule for this drill is that you can not adjust your hands or feet on the holds. No shuffling or re-gripping. Use all the holds and footholds as they are when you grab them the first time.
- This drill will teach us to anticipate where to grab the hold. We will learn to use them even if we don’t place our hands or feet on them perfectly.
- You can progress the exercise by choosing more challenging climbs or steeper terrain.
Important tips:
- Do not make your climbing drills too hard at the beginning or too easy for that matter. You want to feel slightly uncomfortable and challenged.
- Do climbing drills every time you climb – practice is a habit.
- Progress them when they no longer represent a challenge.
- Change them only when they stop making you a better climber.
Conclusion
We like to integrate climbing drills in every climbing activity that isn’t performance. So if the session doesn’t include burns at your project sprinkle some drills in there.
Pick one or two and do them in your warm-up. Pick another one and do it at the beginning of your main practice. Stick with the same exercises for a few weeks, or even months if they yield results. After they no longer do, change them. Rinse and repeat. Make them a normal part of any training (practice) – the same as your warm-up.
Avoid scheduling them at the end of the session. You are more tired at that time. Your coordination is not on point, and you struggle with the pump and/or lack of grip strength. This is not the time for practicing skill drills. Do some light mobility and flexibility to scratch the itch to do something more. Or even better, go take a shower and get some food in your system.

Pingback: 3 Essential Tips for Beginner Climbers: A Guide to a Successful Start - InnerClimber